Different types of users have different responsibilities within the billing system. Some users may not be allowed to use or see certain portions of the system. To this end, PortaBilling® supports the concept of Access Control Lists (ACL). ACLs allow the PortaBilling® administrator to decide, for example, that a particular sales representative can look at customers’ data, but cannot create new customers.
ACLs allow you to control what users of your site can and cannot do. Without such restrictions, it is almost impossible to guarantee that users will see or change only the information that they are allowed to.
There are default ACLs defined in the PortaBilling® system. You can use default ACLs or create new ones to fit your needs.
An access level can be of the following types:
Account (to be applied to your account)
CC Staff (to be applied to your customer care support)
Component (cannot be assigned to users; used only as a building block to construct other access levels)
Customer (to be applied to retail customers or sub-customers)
Distributor (to be applied to your distributor)
Representative (to be applied to your representative)
Reseller (to be applied to your resellers)
User (access level for users of the admin interface)
Vendor (to be applied to your vendors)
These access levels are composed of permissions and, optionally, other components (as dependencies). Permission is a basic unit in the ACL system.
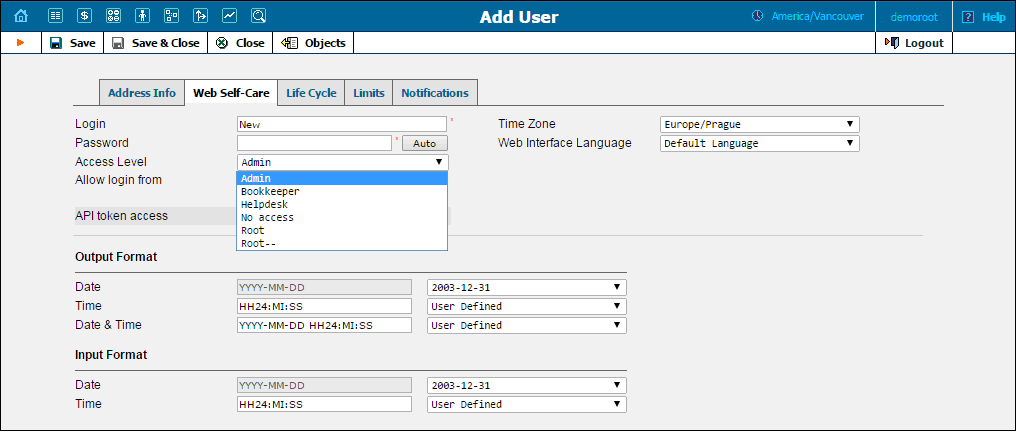
Newly created ACLs will be available in the Access Level select menu of the corresponding form when creating a new object or modifying an existing object’s details. For instance, a User ACL will appear in the Access Level select menu of the Add User form (see below), a Customer ACL will be available when creating or editing a customer, and so on.

In this discussion of the ACL system, we have proceeded by starting with the fundamentals and building up your skills from there. Now we will discuss the entry point for ACL management. On the PortaBilling® admin interface you will find a link to “Access Levels”. This link takes you to the Access Level Management main page.
This page is similar to many others in the PortaBilling® system, including a search interface at the top and a results listing at the bottom. You may search for ACLs using any combination of Name and Type.
In the results listing, you may also see the  Dependencies
icon and the
  Delete
icon. ACLs can only be deleted when they are not in use. If a component
contains any included components, you will be able to click on the dependencies
and see search results for all dependents. The following screenshot shows
all dependents for “Accounts full access”. Note that some of the dependents
have their own dependencies.

